
5 Mistakes to Avoid When Icing Cookies
Icing helps transform cookies from plain and simple to colorful and beautiful — not to mention the fact that it makes them even more delicious. While decorating cookies with icing isn’t nearly as tough as it may seem, there are a few mistakes you want to be sure to avoid.
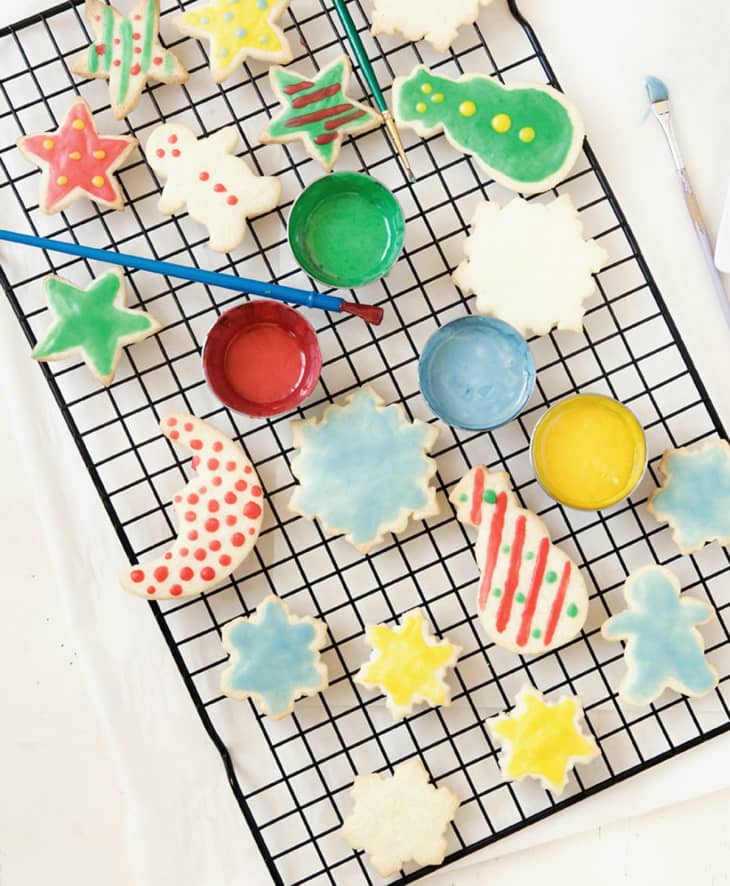
1. Not using the right type of cookies.
Not all types of cookies are meant to be decorated with icing; some varieties work a lot better than others. Icing typically won’t stay in place on cookies with rounded or domed tops, while delicate cookies might not be sturdy enough to support the weight of icing.
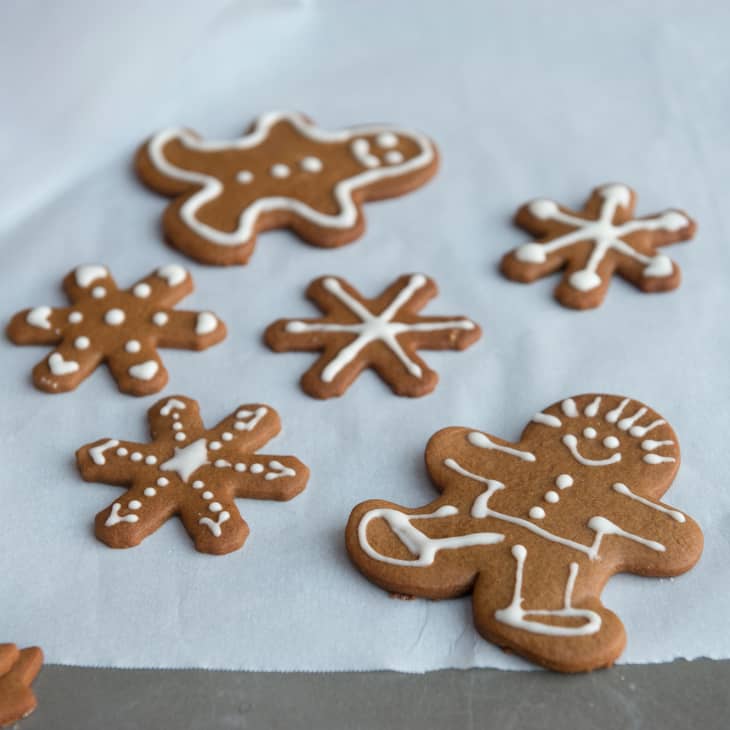
Follow this tip: Thin, flat-cut cookies, like sugar cookies and gingerbread, are the best candidates for decorating with icing. They’re sturdy enough that they won’t crumble as you work with them, and have large, flat areas that are ideal for a bit of decoration.
2. Not waiting for the cookies to cool completely.
Warm cookies are not a friend to icing. If the cookies aren’t completely cooled when you start decorating, the icing will melt once it hits the warm cookie.
Follow this tip: Don’t rush the cooling process. The first step to making beautifully decorated cookies is making sure the cookies are completely cooled when you begin adding the icing. Play it safe by making it a two-day process: Bake the cookies one day, then decorate the next day.
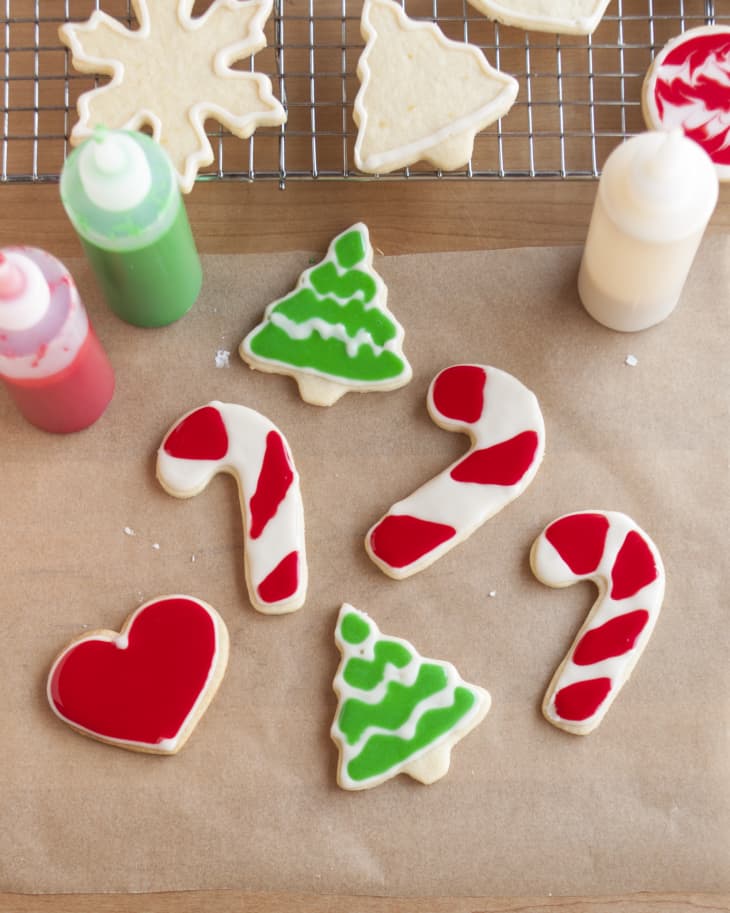
3. Not creating a border with the icing.
It might seem repetitive to make two types of icing (border icing and flood icing) when decorating your cookies, but there’s a good reason for it. The border icing is thicker and acts as a barrier; without it, the thinner flood icing can easily run off the cookies.
Follow this tip: Decorating cookies with icing is a two-step process. Start with border icing (a slightly thicker icing used to trace the outline around cookies), and then use a looser flood icing to fill in the middle of the cookies. The border icing will work as a barrier to hold in the thinner flood icing, creating a completely smooth layer of icing over the cookie.
4. Not using a thick-enough icing.
Making an icing that has just the right consistency is a crucial step in decorating your cookies. When the icing is too thin, it’s hard to control how much you pipe out. If the border icing is too thin, it can seep off the cookie and might not be sturdy enough to contain the flood icing that follows.
Follow this tip: Add the liquid sparingly when making the icing. Remember you can always add more, but it’s much harder to take it away. The border icing should be quite thick; if you drizzle a little from your spoon, the ribbon should hold for a few seconds before melting back into the icing. The flood icing should still be fairly thick, but it should drizzle easily; a bit of drizzled icing should sink immediately back into the icing.
5. Not giving the icing enough time to dry.
You’ve put a lot of work into baking and decorating these cookies, so make sure to let the icing dry. When it doesn’t have enough time to set, your just-made decorations are prone to nicks and smudges.
Follow this tip: Leave the cookies undisturbed for at least 24 hours to fully dry. Depending on the thickness of your icing and the layers on the cookie, it may take longer.
Your turn — what are your best tips for decorating cookies with icing?